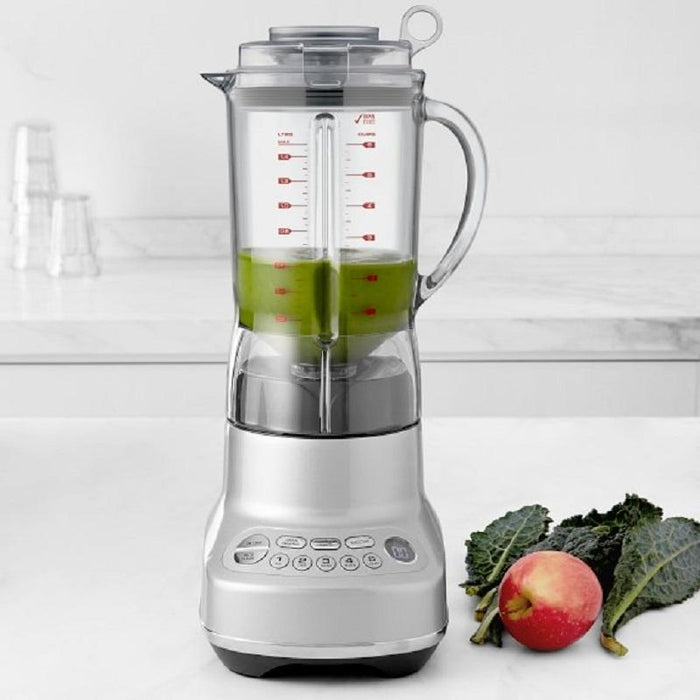
Coffee aficionados understand the importance of a good grind. It’s the heart of a robust and flavorful cup of coffee. While dedicated coffee grinders are the go-to for grinding beans, not everyone has the space or budget for another appliance. This is where a high-quality kitchen blender, like a Breville, can come in handy. Today at TheKitchenApplianceDad.com, we’re diving into the art of grinding your own beans using a Breville blender.
Before we get into the how-to, let’s talk about the importance of consistency in your grind. The grind size matters because it affects the surface area of coffee exposed to water, which in turn affects extraction. Too fine and you may end up with a bitter cup; too coarse and you could have an under-extracted, weak coffee.
With a Breville blender, achieving the right consistency can be a bit of a challenge, but it’s certainly possible with a bit of know-how.

Not all blenders are created equal when it comes to grinding coffee beans. You’ll want a Breville blender that has the power to chop through beans without overheating and the settings that allow for pulse action to prevent over-processing.
For example, the Breville Super Q Blender is a robust option with a powerful 1800 watt motor and multiple speed settings that can handle coffee beans. The key is to use short bursts of power to chop the beans to your desired consistency.
Start by measuring out the amount of coffee beans you need. A general rule of thumb is about two tablespoons of coffee beans per 6 ounces of water. Adjust to your taste preference.
Make sure your Breville blender is clean and dry. Any moisture can cause the beans to stick and not grind evenly. Place the beans in the blender and secure the lid.
Use the pulse feature on your Breville blender. Short, quick pulses will give you more control over the grind size. For a coarse grind, pulse a few times. For a medium grind, continue pulsing until you reach the desired consistency. If you’re aiming for a fine grind, be cautious not to overdo it, as you could end up with coffee dust.
After a few pulses, stop and check the consistency of the grind. Shake the blender gently to redistribute the beans and ensure an even grind. Continue pulsing if necessary.
Once you’ve achieved the desired grind, it’s time to brew or store your freshly ground coffee. If not using immediately, store the grounds in an airtight container away from direct sunlight and heat to preserve the freshness.
Coffee beans can leave behind oils that may affect the taste of other foods you blend. To maintain your Breville blender:
Grinding coffee beans in a Breville blender can be a convenient alternative to a coffee grinder, especially if you’re tight on space or budget. With the right technique and a bit of patience, you can enjoy freshly ground coffee that enhances the taste of your brew. Remember to pulse for better control, check the consistency frequently, and adjust the amount of beans based on your coffee needs.
At TheKitchenApplianceDad.com, we understand the significance of every step in the coffee-making process. Grinding your own beans is a rewarding experience that can elevate your coffee game. So, next time you’re craving that perfect cup, consider using your Breville blender to grind fresh beans and taste the difference.
Whether you’re a seasoned coffee enthusiast or just beginning to explore the world of home-brewed coffee, grinding your own beans with a Breville blender is a step towards crafting the perfect cup at home. Enjoy the process, experiment with different grind sizes, and savor the aroma and taste of fresh coffee made just the way you like it.

