
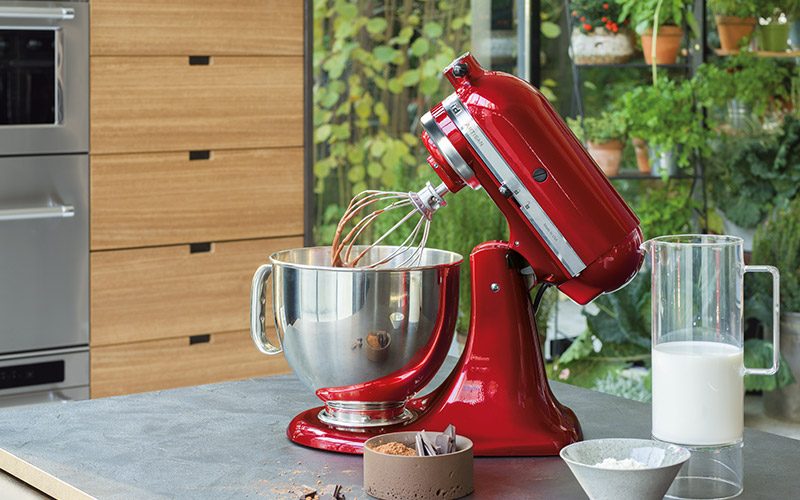
For those who love to whip up everything from bread dough to meringues, the KitchenAid stand mixer is an indispensable tool in the kitchen. Knowing how to properly set the speed levels on your KitchenAid mixer is crucial for achieving the perfect mix. Here at TheKitchenApplianceDad.com, we understand the importance of mastering your mixer’s settings, so let’s walk through how to set speed levels on KitchenAid stand mixers for optimal results in all your culinary endeavors.
KitchenAid stand mixers come with a variety of speed settings, typically ranging from 1 to 10. Each speed level is designed for different types of mixing tasks, from slowly stirring dry ingredients to quickly whipping cream or egg whites.
Using the correct speed setting is not just about getting your recipe right, but also about taking care of your mixer. Running the mixer at too high a speed for heavy doughs, for example, can put unnecessary strain on the motor. Conversely, mixing at too low a speed may not give you the results you’re looking for.
The speed control on a KitchenAid stand mixer is typically a lever on the side of the machine. It slides up or down to adjust the speed. Some models might have a dial or electronic controls instead.
Here is a general guide to what each speed setting is intended for:
When beginning your mixing, always start at the lowest speed setting to prevent ingredients from splashing out of the bowl. Gradually increase the speed as needed.
Once the ingredients are well combined, you can gradually move the speed control lever to the desired setting. If your recipe specifies a certain speed, slide the lever to the corresponding number.
As you mix, keep an eye on your mixture. If it seems like the machine is straining, or if the mixture isn’t incorporating the way you want it to, adjust the speed accordingly.
If you need to change speeds dramatically – for example, going from a low stir to a high whip – it’s best to turn off the mixer first. This will reduce wear on the motor and gears.
Some KitchenAid stand mixers also have a pulse setting, which is particularly useful for tasks like chopping nuts or incorporating dry ingredients without overmixing.
By following these steps, you can master the speed settings of your KitchenAid stand mixer and ensure that you get the most out of this versatile kitchen appliance. Whether you’re a novice baker or an experienced chef, your KitchenAid is there to make every recipe a success. Keep these tips from TheKitchenApplianceDad.com in mind, and happy mixing!

