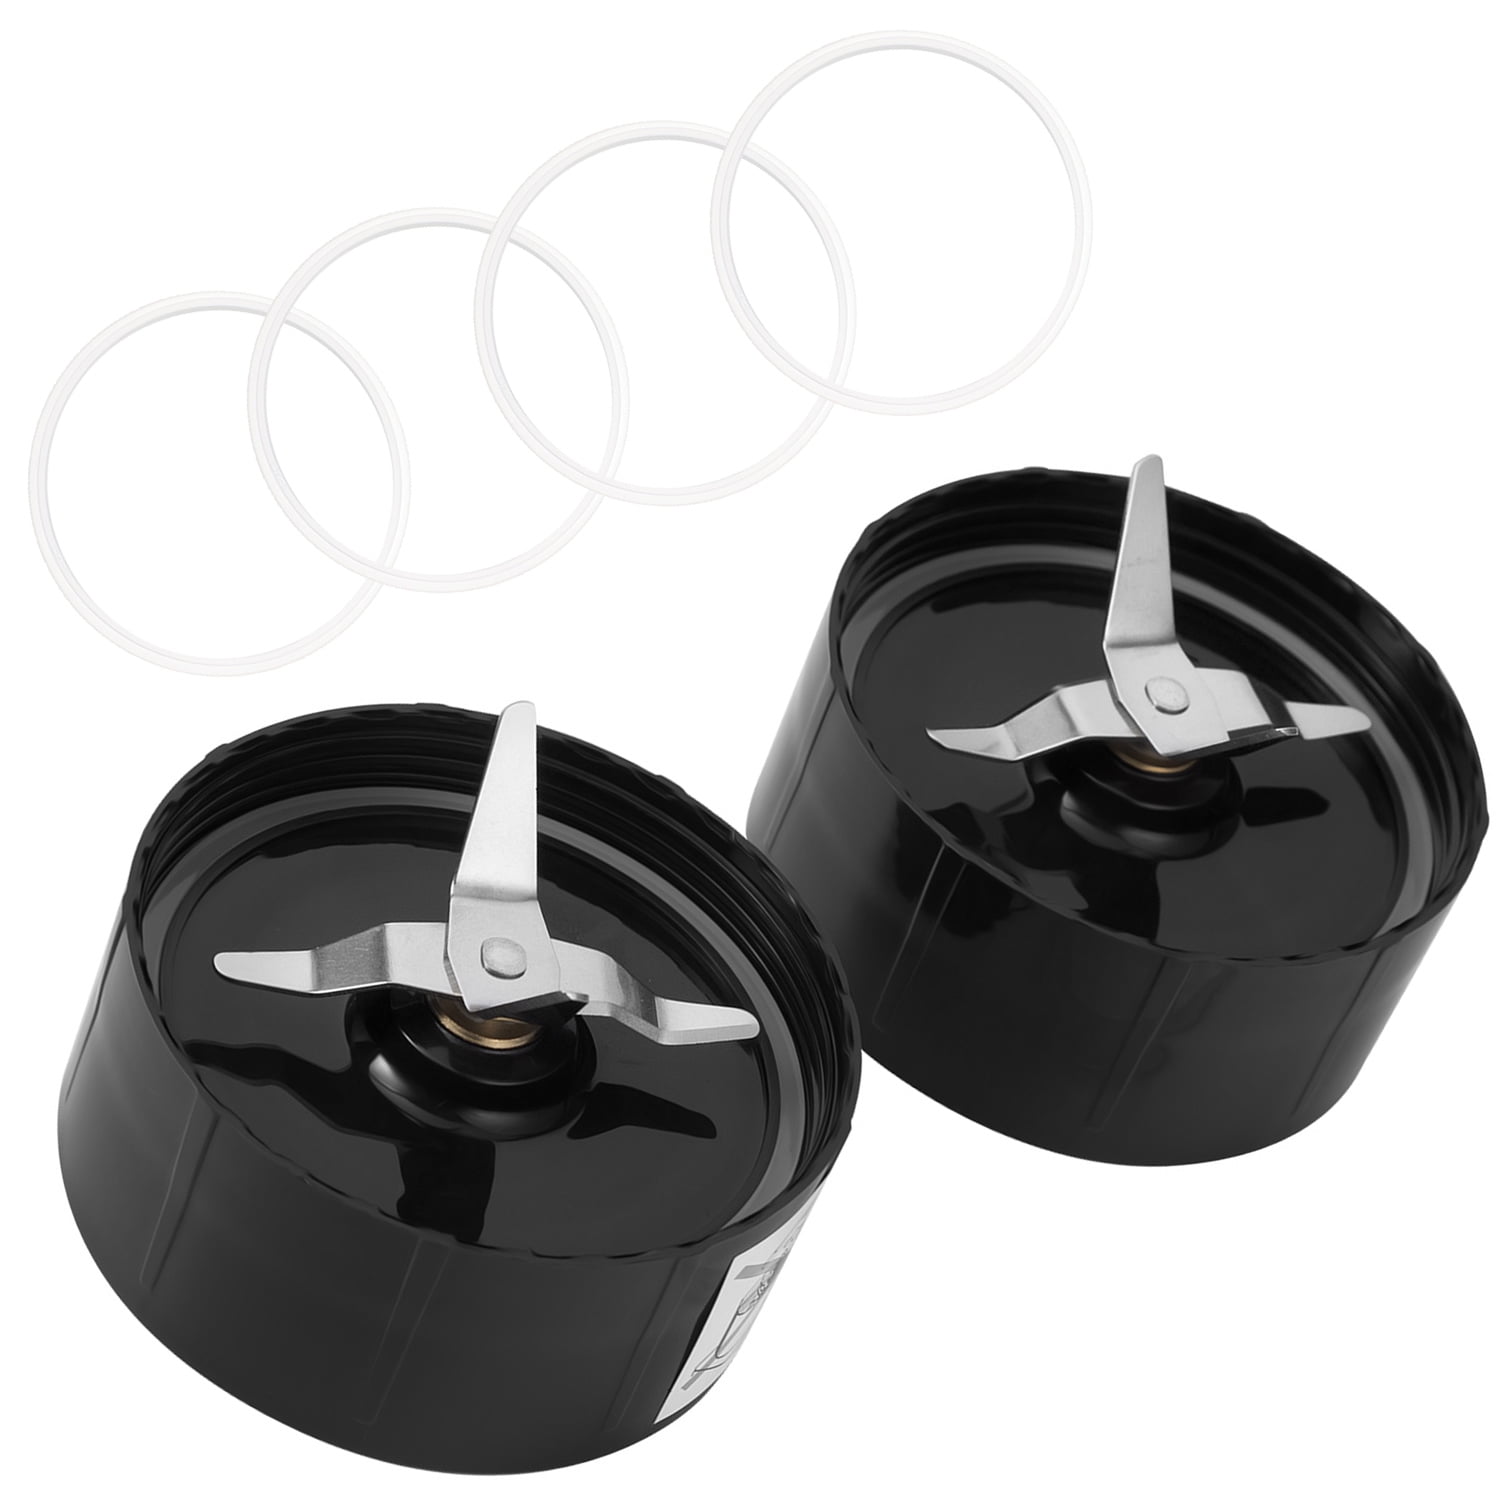
Hello, culinary enthusiasts and DIY repair heroes! Today at TheKitchenApplianceDad.com, we’re tackling a task that often goes overlooked but is vital for the longevity and proper function of your beloved Nutri Ninja Duo Blender: replacing the gasket on the Powerblade.
The gasket is a small rubber seal that sits between the blade assembly and the jar, ensuring a snug fit and preventing any leaks during your blending bonanza. Over time, it can wear out or get damaged, which can lead to messy leaks or less efficient blending. Don’t fret; with this guide, you’ll be back to crafting your nutrient-packed smoothies and shakes in no time.
Before we dive into the nitty-gritty, let’s make sure you have all the necessary tools and replacement parts ready:

Safety first! Ensure your Nutri Ninja Duo Blender is unplugged from the power source. Then, remove the pitcher or cup from the motor base and unscrew the blade assembly.
Carefully examine the blade assembly to locate the gasket. It’s typically seated in a groove at the base of the blades. Use your flat-head screwdriver to gently pry the old gasket out. Be cautious to avoid any contact with the blades as they are sharp.
With the gasket removed, it’s time to give your blade assembly a good clean. Mix some mild dish soap with warm water and use a clean cloth to wipe away any residue or buildup from the area where the gasket sits. Make sure to rinse well and dry thoroughly to prevent any rusting or corrosion.
Unpack your new gasket and give it a quick rinse with warm water. Inspect it for any defects or irregularities that could affect the seal. It’s crucial that the new gasket is in perfect condition to ensure a good seal.
Place the new gasket into the groove on the blade assembly. Ensure that it sits evenly all around and there are no twists or kinks. The gasket should be flush against the surface to create a proper seal.
Once the new gasket is in place, reattach the blade assembly to the pitcher or cup. Screw it back into position, making sure it is snug but not overly tight as this could damage the new gasket.
Before you start blending again, it’s wise to perform a quick leak test. Fill the pitcher or cup with water, attach it to the blade assembly, and turn it upside down over the sink. If you see any drips or leaks, double-check the gasket placement and the tightness of the assembly.
Finally, try blending something simple, like water with a small amount of dish soap, to create suds. This will help you ensure that the seal is tight and the blender is functioning correctly without any leaks.
Replacing the gasket on your Nutri Ninja Duo Powerblade is an easy and cost-effective way to extend the life of your blender. It’s a simple process that requires little time and ensures your appliance continues to operate at peak performance.
Remember, a little maintenance can go a long way in keeping your kitchen appliances running smoothly. For more helpful tips and guides, keep TheKitchenApplianceDad.com bookmarked. Happy blending, and here’s to many more delicious creations from your leak-free Nutri Ninja Duo!

