Maintaining the cleanliness of your kitchen appliances is essential for both their performance and longevity, and the Vitamix 750 Blender is no exception. At TheKitchenApplianceDad.com, we understand that your time is precious, so we’ve compiled a list of quick, easy methods to clean your Vitamix 750 Blender without the hassle.
Understanding Your Vitamix 750 Blender’s Cleaning Needs
The Vitamix 750 is designed with convenience in mind, featuring a self-cleaning program that can tackle most messes without the need for disassembly. However, certain situations require a bit more attention. Whether you’re dealing with sticky residues, discoloration, or simply looking for a deep clean, we’ve got you covered.

Routine Cleaning After Each Use
Step 1: Self-Cleaning Cycle
Immediately after use, perform a basic clean to prevent any residues from hardening and becoming more difficult to remove later.
- Rinse out any leftover contents from the blender container.
- Fill the container halfway with warm water and add a drop of dish soap.
- Secure the lid and select the cleaning cycle on your Vitamix 750, if available. If not, manually select a variable speed.
- Start the machine and let it run for 30 to 60 seconds. The powerful motor will create a whirlpool effect, ensuring all interior surfaces are scrubbed.
- Once complete, rinse the container thoroughly with clean water and allow it to air dry upside down.
Step 2: Manual Rinse and Dry
If you’ve blended light ingredients and the container doesn’t seem to need a full cleaning cycle:
- Rinse the container thoroughly with warm water.
- Use a soft sponge or brush to gently scrub any remaining particles.
- Rinse once more and then dry with a clean towel or let it air dry.
Addressing Stubborn Residues
Sometimes, you might encounter stubborn residues that refuse to budge with the standard cleaning procedure. Here’s how to tackle them:
Step 1: Soak the Container
- Fill the blender container with warm water and a few drops of dish soap.
- Allow it to soak for several hours, or even overnight, to loosen any stubborn residue.
- After soaking, pour out the soapy water and scrub gently with a non-abrasive sponge or brush.
- Rinse thoroughly and dry.
Step 2: Vinegar Soak for Odors and Stains
If you notice odors or discoloration:
- Prepare a solution of one part white vinegar to three parts warm water in the blender container.
- Let the container soak for several hours or overnight.
- Pour out the solution, and scrub the container gently if needed.
- Rinse thoroughly and dry.
Deep Cleaning for a Sparkling Blender
In addition to routine cleaning, it’s good practice to perform a deep clean occasionally, especially if you use your blender frequently.
Step 1: Disassemble and Inspect
- Remove the container from the motor base and take off the lid and lid plug.
- Inspect the container, blades, and lid for any food build-up or damage.
Step 2: Deep Clean the Container and Lid
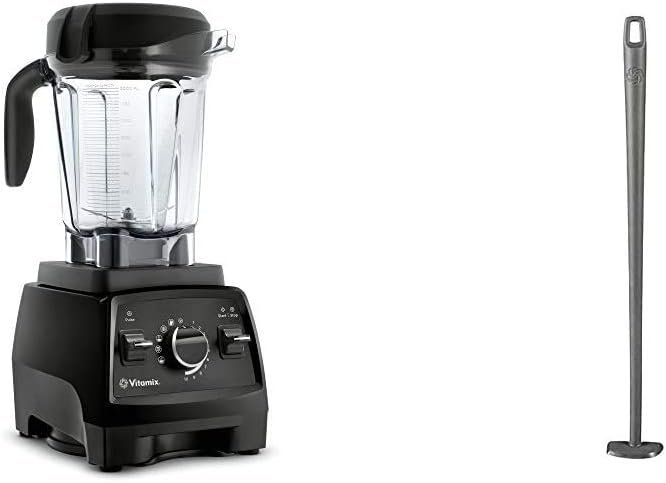
- Use a long-handled brush or a specially designed Vitamix cleaning brush to scrub around the blades and the bottom of the container.
- Clean the lid and lid plug with a small brush or toothbrush to get into the crevices.
- Rinse all parts thoroughly and allow them to air dry.
Step 3: Wipe Down the Motor Base
- Unplug the motor base and use a damp cloth to wipe down the exterior.
- Avoid getting water inside the motor base to prevent damage.
- Use a dry cloth to wipe away any moisture.
Preventative Measures for a Clean Blender
- Blender Proper Use: Always start on a low setting and gradually increase the speed to prevent splattering and reduce cleaning time.
- Immediate Cleaning: Don’t let residues sit. Clean your Vitamix immediately after use.
- Regular Deep Cleaning: Schedule a deep clean once a month or as needed, depending on usage.
Conclusion: Keeping Your Vitamix 750 in Top Shape
Cleaning your Vitamix 750 Blender doesn’t have to be a tedious task. With these quick and easy cleaning methods, you can ensure that your blender remains in optimal condition, ready for your next culinary adventure. Remember that regular maintenance not only keeps your Vitamix sparkling but also extends its life and ensures that it continues to perform at its best.
Key Takeaways
- Utilize the Self-Cleaning Program: For most cleaning needs, the self-cleaning cycle is efficient and effective.
- Soak to Loosen Residues: For tougher messes, soak the container in warm, soapy water or a vinegar solution.
- Deep Clean Occasionally: Disassemble and thoroughly clean all parts of the blender, including the blades and lid.
- Preventative Care: Use the blender properly and clean it immediately after use to avoid hard-to-clean messes.
- Maintain Regularly: Beyond cleaning, inspect your Vitamix for any wear and tear, ensuring it remains in top working condition.
By taking these steps, you’ll keep your Vitamix 750 Blender clean and efficient, making it a dependable tool in your kitchen for years to come. At TheKitchenApplianceDad.com, we’re committed to helping you make the most of your kitchen appliances with practical advice and expert insights. Happy blending and cleaning!

:max_bytes(150000):strip_icc()/Vitamix_750ProfessionalBlender_HeroSquare-98336812b96c445cabea7c66188f938c.jpg)