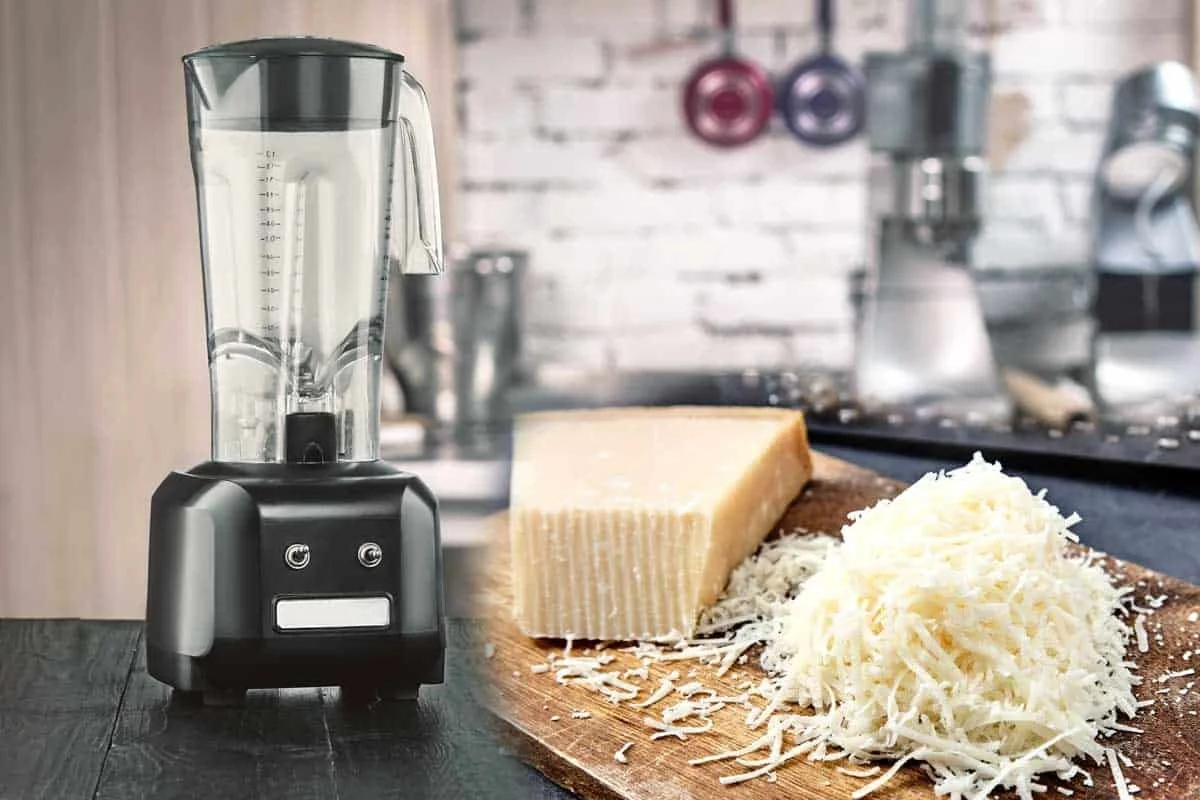
In the world of kitchen appliances, innovation and versatility are key. It’s not just about what the appliance is designed to do, but also about what else it can accomplish with a bit of creativity. A perfect example of this is using your Ninja blender as a cheese grater. At TheKitchenApplianceDad.com, we’re always looking for ways to maximize the use of every kitchen tool. So, let’s dive into how you can transform your Ninja blender into an efficient cheese grater.
Before you start grating cheese, it’s important to know that not all Ninja blenders are built the same. Some models might be more suited for this task than others, depending on the power and the available attachments. Always refer to your specific model’s manual to verify that it’s safe to grate cheese without damaging the appliance.
The type of cheese you use is crucial for successful grating in a Ninja blender. Firmer cheeses like cheddar, Monterey Jack, and Parmesan are ideal because they hold their shape better and won’t clump together as easily as softer cheeses when blended.
For the best results, chill your cheese before attempting to grate it in the Ninja blender. Cold cheese is firmer and less sticky, which makes it easier to grate without turning into a gooey mess.
Here’s a step-by-step guide on how to use your Ninja blender as a cheese grater:
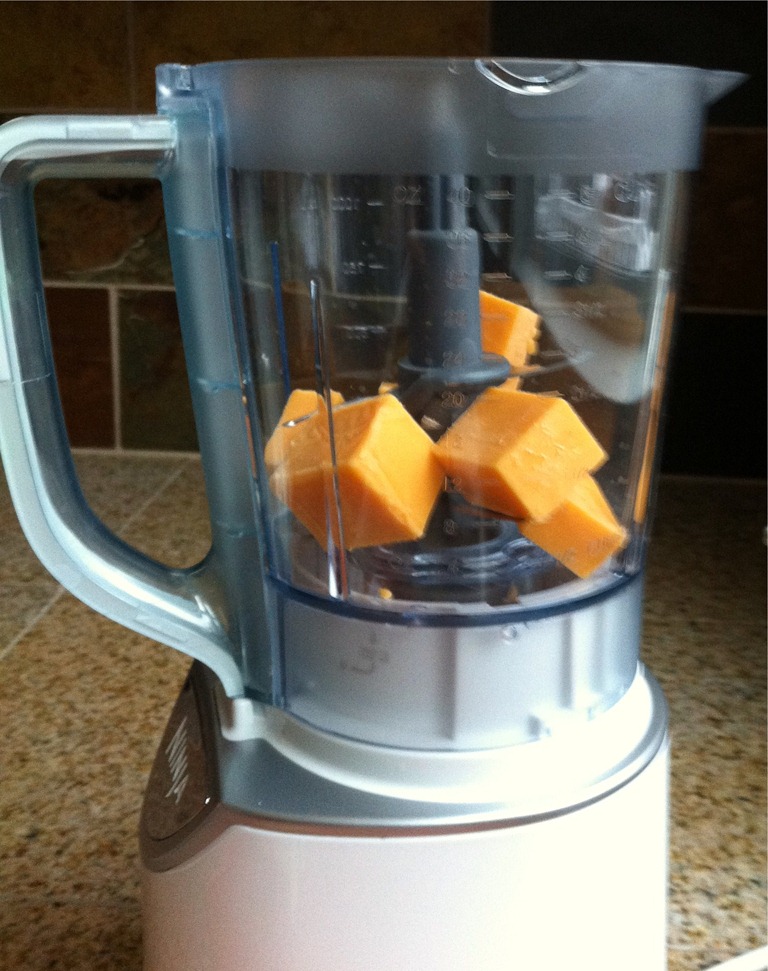
Step 1: Cut the Cheese into Manageable Pieces
Depending on the size of your blender jar, you’ll want to cut the cheese into smaller chunks that can easily fit into the container without overcrowding it.
Step 2: Choose the Right Blade
If your Ninja blender came with different blade options, select the one that resembles a grater or chopper. Some models include a specific grating attachment which would be ideal for this task.
Step 3: Assemble Your Blender
Place the cheese chunks and the appropriate blade into the blender jar. Make sure the lid is secured tightly to avoid any accidents.
Step 4: Pulse to Grate
Use the pulse function on your Ninja blender to grate the cheese. Short, quick pulses will help to create an even grate and prevent the cheese from clumping. Keep an eye on the texture to achieve your desired coarseness.
Step 5: Empty and Repeat
Once the cheese is grated to your liking, empty the container and repeat the process with the remaining cheese chunks if necessary.
Using a Ninja blender as a cheese grater is a clever hack that can save you time and spare you the hassle of grating cheese by hand. It’s a testament to the versatility of the Ninja blender and its potential to serve multiple functions in your kitchen.
At TheKitchenApplianceDad.com, we’re all about finding new ways to use the appliances you already have. We hope this guide inspires you to look at your Ninja blender through a new lens and explore its many uses. Who knew that your trusty smoothie maker could also tackle the task of grating cheese with ease? Now you do, and it’s time to put that knowledge to good use! Happy grating!